Home Theater Installation. Room First, Gear Second.
Most theaters get designed backward. Somebody picks a projector, then a receiver, then a speaker package, and only afterward does anyone look hard at the room all of it has to live in. Then the bass vanishes in the second row and the fan drowns the quiet scenes.
The room is the instrument. Everything else is parts.
This page covers one thing: the dedicated room. One purpose, one door, one set of seats pointed the same direction. No shortcuts.
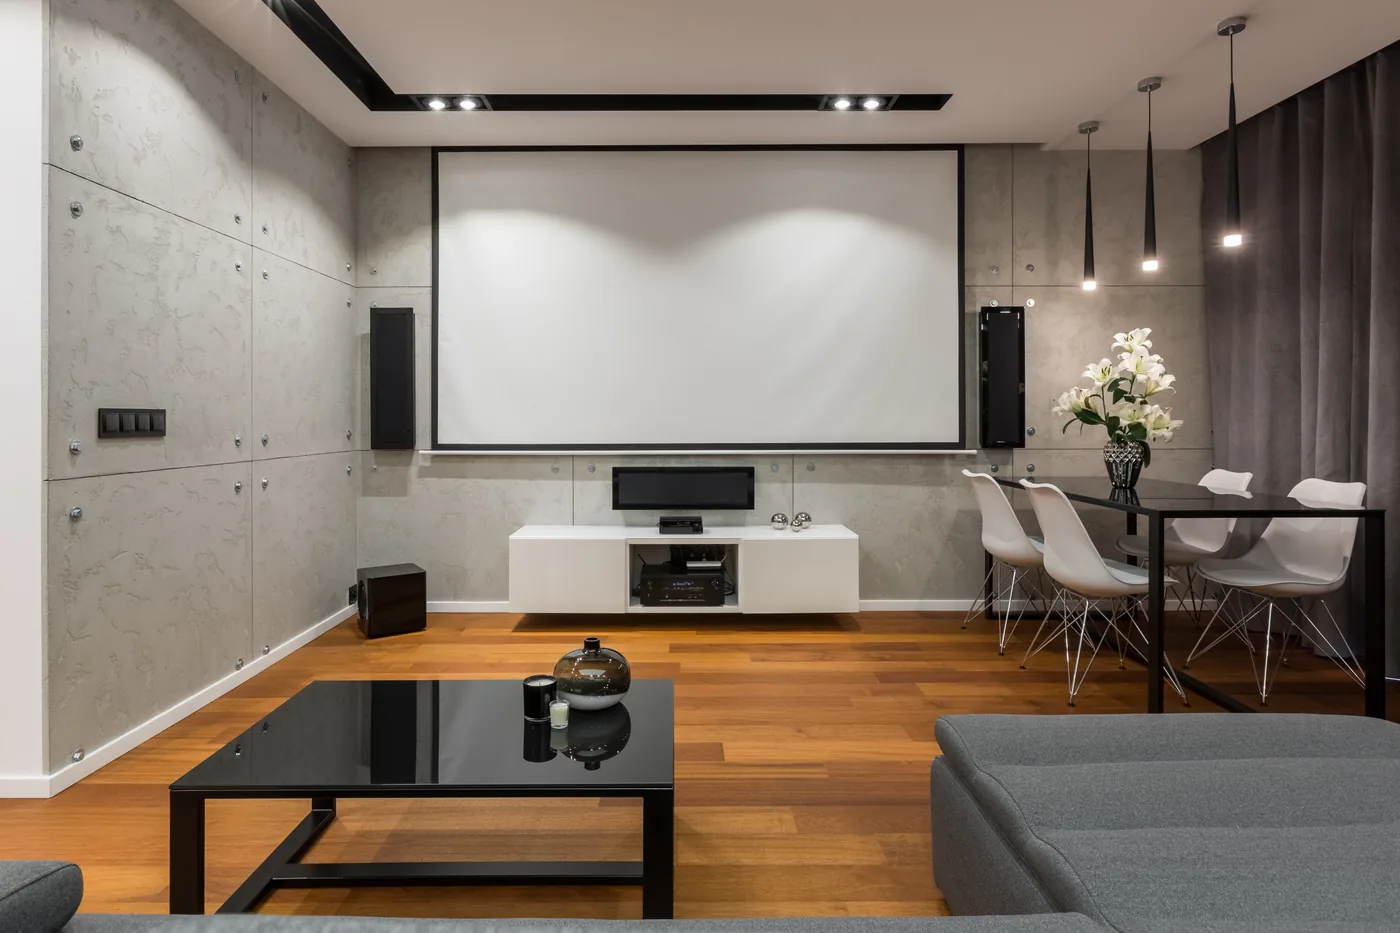
What a Dedicated Theater Room Actually Is
The shell and the seats
A room built around a listening position, not around furniture. Walls, ceiling, floor and door treated as an acoustic assembly. Two rows means a riser, 12 inches by default, rows 8 to 10 feet apart, step lighting in the riser face.

Picture, sound and the rack
Screen size set by math, not preference. Front three at ear height. Surrounds and height channels laid out to spec instead of to wherever the joists were convenient. Racks built to be opened, not buried.

The Numbers That Decide the Room.
Screen size against seating distance
Take the distance from the primary seat to the screen in inches. Divide by 1.2 for a reference-scale image, by 1.5 for a conservative one. At 10 feet that is 80 to 100 inches. At 12 feet, 96 to 120. At 14 feet, 112 to 140. Oversize it and the front row scans the frame instead of watching it.
Projector or large-format TV
Screen gain and ambient light
Atmos and the ceiling you actually have
Subwoofers, nulls and phase
Treatment and isolation
Rack heat

The Unfinished Basement Is the Best Theater Room in the House.
Poured foundation on three sides. No window wall. Ceiling height that usually works in anything built since the late nineties. Mass and darkness, already paid for.
Here is what we find down there.
- Trunk ductwork in the joist bays, sitting exactly where the projector or the front soffit wants to go. Re-routable, but that is a real HVAC line item and we price it before you commit to a screen wall.
- A beam drop. Steel I-beam dropping 10 to 12 inches across the middle of the room. It becomes a soffit, or it dictates where the riser lands.
- The sump pit. It cycles, and it is loud in a room you just paid to silence. Get it outside the envelope, or lid and isolate it.
- Egress. A theater is not a sleeping room, but the inspector will ask what you are calling it. Settle it before framing.
- Moisture. Freeze-thaw and clay soil are hard on foundations, so we look for efflorescence and hydrostatic staining before anyone talks finishes. Wet basement, no theater. That answer has cost us jobs.
In a long heating season interior humidity drops into the teens. That is hard on wood cabinetry and tensioned screen fabric, so humidity control belongs in the plan.
How The Work Actually Goes.
Survey and design
The room, the stairwell, clear height under every obstruction, panel capacity, sump and ductwork. Then a seating layout, sightline section, screen size, speaker angles and rack location, drawn before you see a proposal.
Pre-wire and rough-in
Speaker runs, conduit from rack to projector, dedicated circuits coordinated with the electrician, structural backing where mounts land. Home run, labeled, documented.
Build coordination
Isolation assembly, framing, riser, soffits and drywall, with our crew on site as the room goes together, not after it closes.
Trim-out and commissioning
Speakers set and aimed, screen hung, projector aligned. Then levels, distances, crossovers, subwoofer placement verified by measurement, polarity checked per driver.
Training and support
One walkthrough, plus labeled as-builts that stay with the house. On our 24/7/365 service plans, after-hours calls are triaged that night and most issues resolve remotely. See our service plans.
New Construction vs. Retrofit
In new construction the theater is cheap to buy and expensive to skip. Pre-wire happens at rough-in, before insulation, when a conduit path from rack to projector costs almost nothing. Isolation framing, dedicated circuits and structural backing get bought at framing prices.
In retrofit, an unfinished basement is nearly as good, and a finished one means selective demo that is usually still worth it. Upper floors in pre-war homes are the hard case: plaster and lath, no consistent stud bays, and 1920s plaster that sometimes carries wire mesh. Late-nineties builds often have coax and Cat5e already run to the basement. Assess before you rip.
FREQUENTLY ASKED QUESTIONS
Home Theater Questions, Answered
Eight feet of finished ceiling height is the working minimum. Below that, height channels sit too close to the listening plane and collapse into the bed layer instead of imaging overhead. In a 7-foot-6 room we recommend 7.2.2 with angle-adjustable in-ceiling speakers aimed at the seats.
Under about 100 inches, or in any room you cannot take to near-total darkness, a large-format TV wins on contrast and total cost. Above 110 inches in a true blackout room, a laser projector wins clearly, and at roughly 20,000 rated hours lamp replacement is no longer a factor.
Divide the distance from your primary seat to the screen, in inches, by 1.2 for a reference-scale image or by 1.5 for a conservative one. At 10 feet that is 80 to 100 inches. At 12 feet, 96 to 120. At 14 feet, 112 to 140.
Yes, and it buys more per dollar than electronics do. Absorption at the first reflection points, bass trapping in the corners, diffusion on the rear wall. Panels need 2 to 4 inches of thickness to control anything below 500 Hz, and coverage should land at 40 to 60 percent.
Substantially, yes. Two layers of 5/8-inch drywall with a damping layer, on isolation clips and hat channel over an insulated cavity, sealed at every penetration. The two leaks that undo everything else are the door and the ductwork, so plan on a sealed solid-core door and a dedicated lined register run.
On our 24/7/365 service plans, after-hours calls are triaged that night, not queued in a ticket system. Most issues resolve remotely because the system is documented and monitored. Anything needing a technician is scheduled first thing, and service-plan clients get priority response and proactive monitoring.
Need help? Visit our Service and Support page to explore our residential support plans.
Design and approval typically take two to four weeks and pre-wire is one to three days. Isolation framing through finish generally runs four to eight weeks, depending on your builder. Trim-out, calibration and training add another week. Most basement conversions land between eight and fourteen weeks.
One Room. Built to Be Used
Bring us the room. We will tell you what it can do, what it cannot, and what it costs before anyone spends money on equipment. Free on-site consultation, and the same crew from survey through calibration.